 |
| Wheat free/gluten free bread loaf with a better crumb using aquafaba foam |
Once an ardent bread baker, you can imagine my disappointment, nay, despair at having to bake wheat free bread. Crumbly, developing a grainy texture if left for any period of time. I therefore made it my objective to find a better solution. The solution first and my recipe second.
Solution: My elements for palatable gluten free bread are:
- Creating a stiff peaked aquafaba foam and folding it into the bread dough.
- Slicing and freezing a freshly baked loaf once it has cooled to room temperature. Take however many slices you need out of the freezer and heat them before using and eating.
Recipe for gluten free bread using aquafaba foam
Adapted from recipe on Doves Farm Freee White bread flour recipe.
Ingredients
 |
| Ingredients clockwise from top: Yeast in water with some sugar, olive oil, all other dry ingredients plus most of sugar, lemon juice, aquafaba |
- 300g Doves Farm Freee White Bread Flour blend: rice, tapioca, potato, thickener: xanthan gum
- 75g Buckwheat flour
- 75g Chickpea aqua faba at room temperature (you can use egg white from 2 eggs)
- 5ml lemon juice
- 27ml Olive oil
- 36g Sugar
- 6g Dried east: yeast, emulsifier sorbitan monostearate, vitamin C
- 6g Salt
- 0.75 tsp/1.5g Psyllium husk
- 250ml Water
Method
- Mix a teaspoon of sugar, water and yeast and leave at least 5 mins to activate at no more than 33 degC
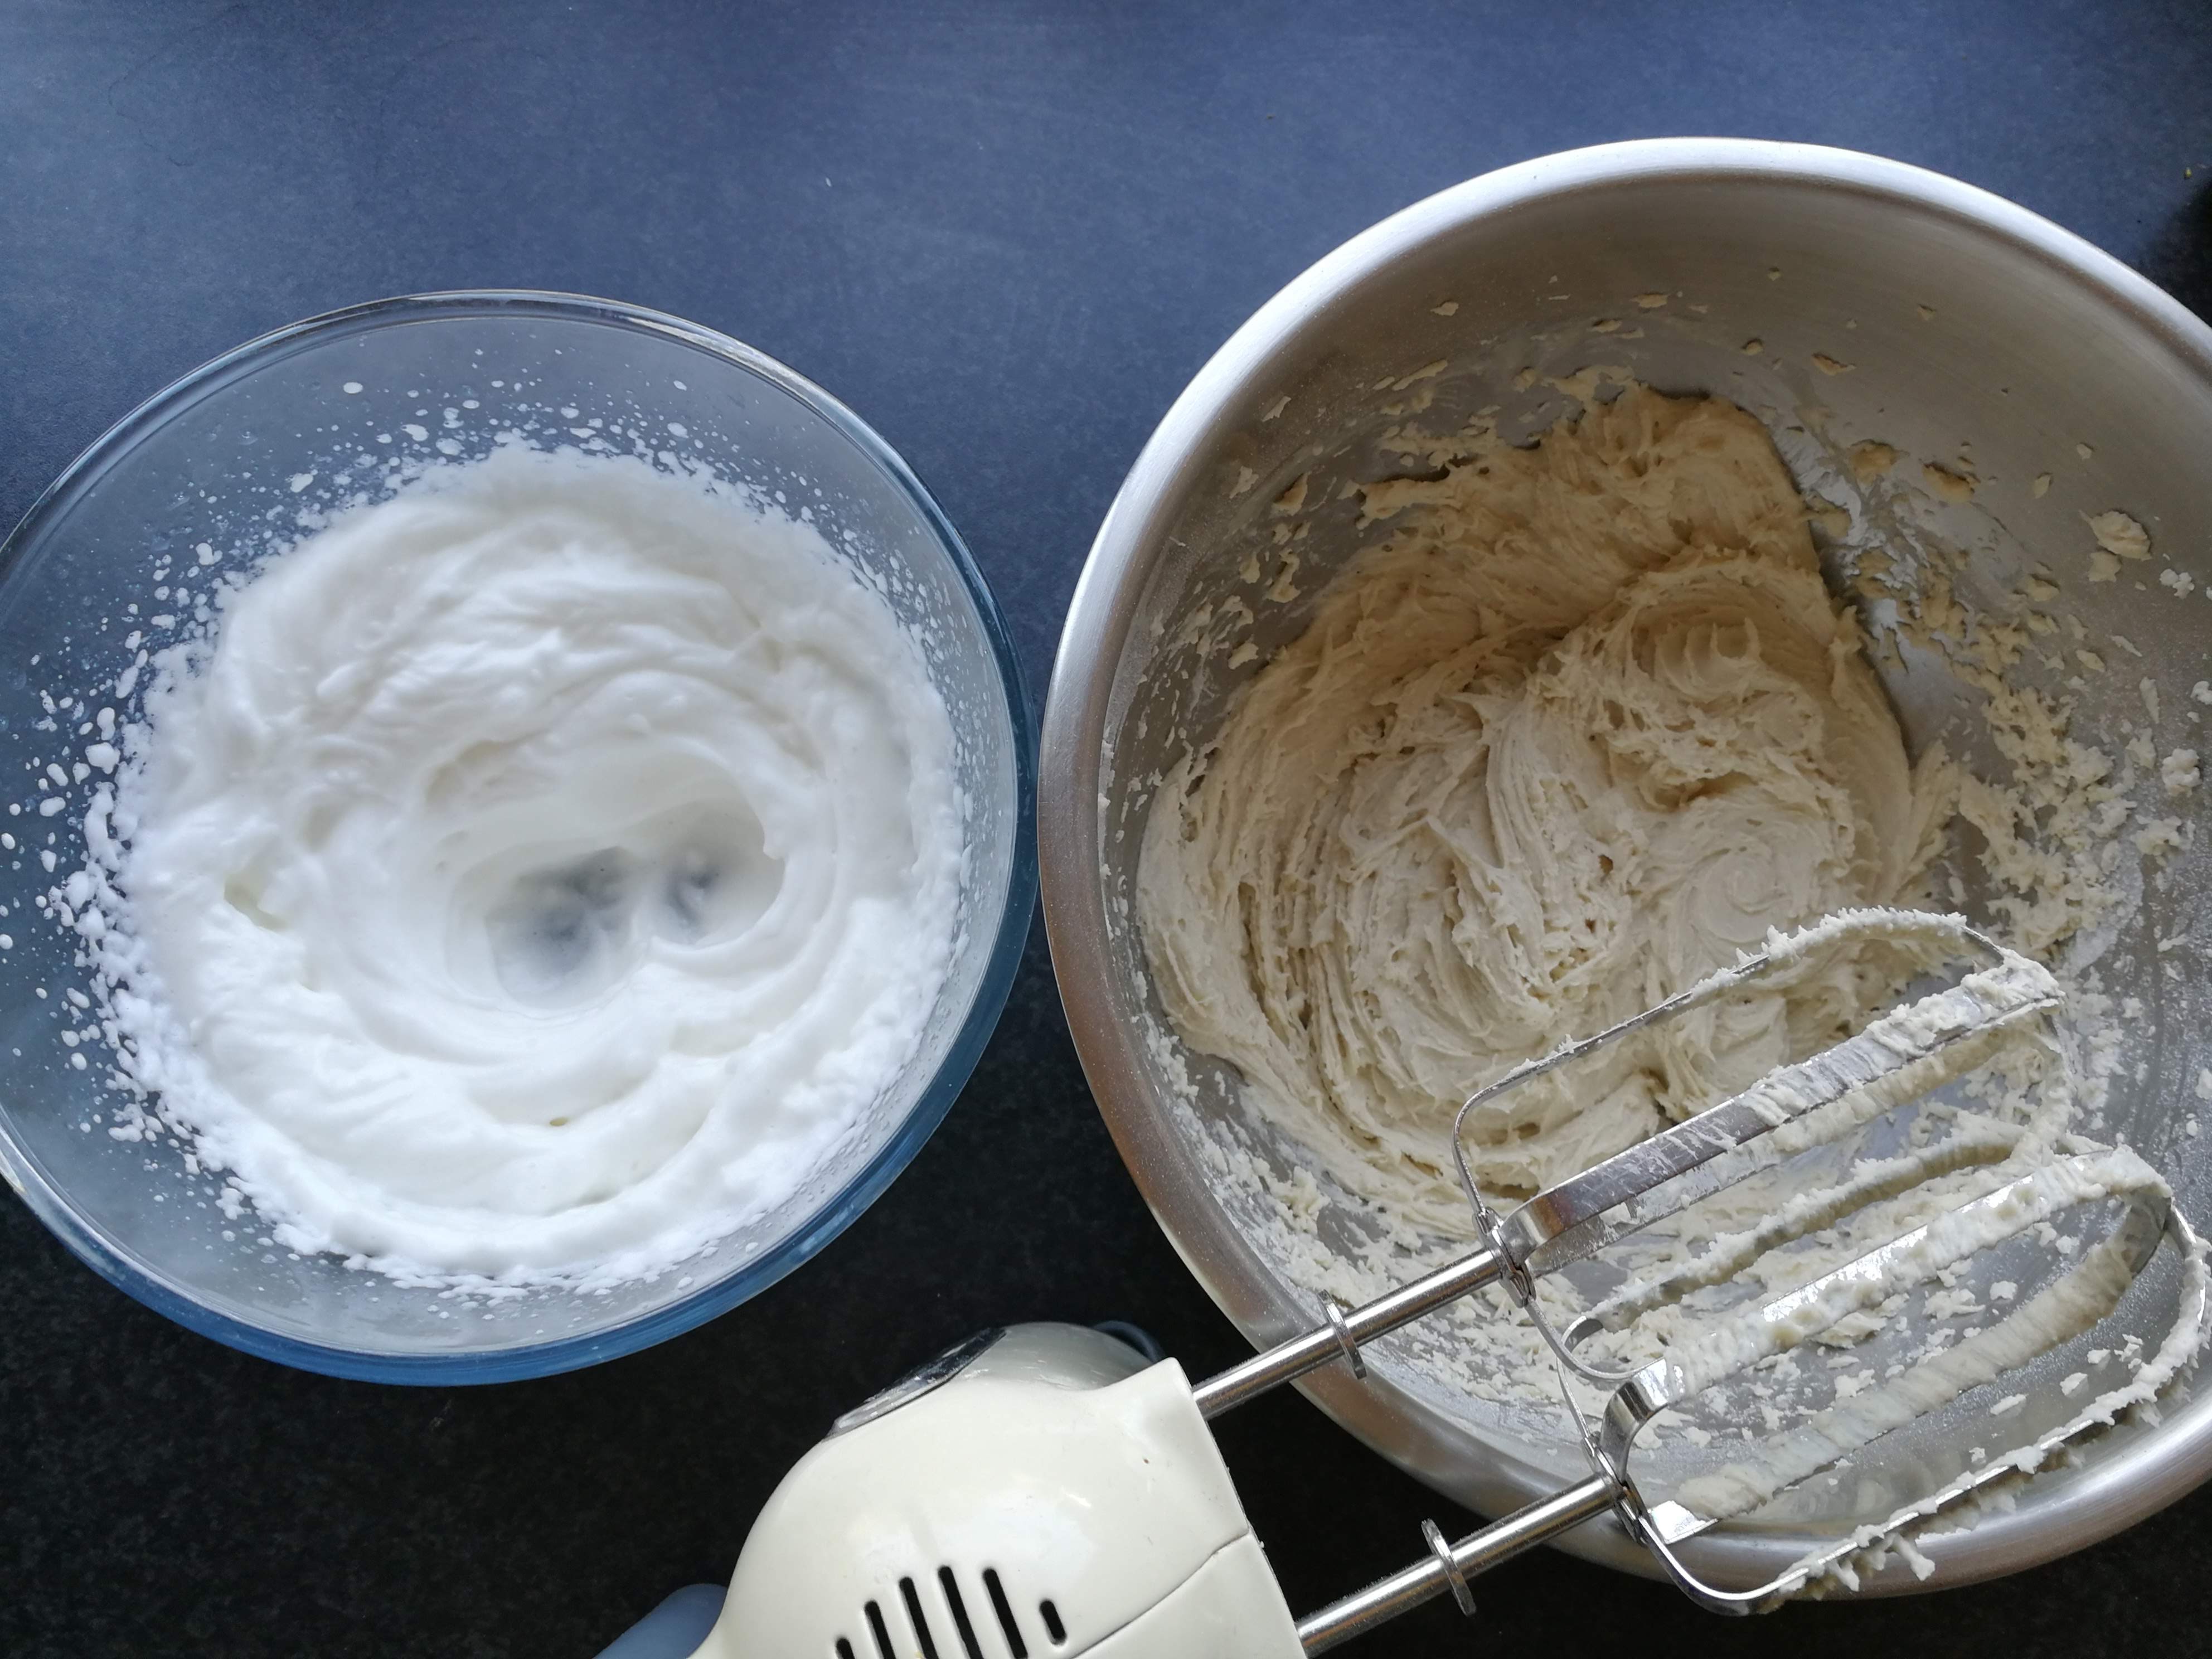
- In new large bowl, add lemon juice to aqua faba and using hand mixer, mix until stiff peaks achieved
 |
| Aquafaba and lemon juice mixed to stiff peaks |
- Add flours, salt and Psyllium husk to a bowl
- Add remaining bulk of sugar, yeast and water and mix
- Add oil to flour mix and mix
 |
| Right: Dry ingredients mixed with oil and yeast in water |
- Add the aquafaba stiff foam to flour mix and fold under with a large spoon until completely even
 |
| Aquafaba foam added to mixed dough |
 |
| Aquafaba foam folded evenly into dough with spoon |
- Preheat oven to 200 degC
- Line a 2lb loaf tin with non stick paper
- Pour and spoon the thick-batter like mix into the tin
 |
| Pour and spoon the thick batter mix into the lined bread tin |
- Cover gently and leave to rise till doubled in size

 |
| bread mix in tin at start of rise. |
 |
| Mix covered with a sheet of paper |
 |
| bread dough doubled in size |
- OPTIONAL: gently spray surface with milk
- Bake at 200 degC till internal temperature over 90 degC, about 45 minutes
 |
| Check internal temperature over 90 degrees C |
- Remove from tin and allow to cool before slicing and freezing any bread not used immediately.
 |
| Loaf cooling on wire rack |
A bit of science
Why whip the aquafaba?
We know that with normal wheat bread, it is the gluten that provides the structure that hold the bubbles created as the yeast ferments any natural sugars in the dough. The gluten forms long chains of gluten molecules.
Aquafaba (or egg white) contain proteins that can also be usedd to create a bubble structure by whipping them.
During whipping, the natural structure of these proteins is broken open (denatured) and the protein molecules form chains that can coat air bubbles.
Room temperature and a bit of acidity from lemon juice or tatrate make the proteins easier to denature and foam during whipping.
Folding the foam into the dough mimics the effect of the gluten in wheat bread sufficiantly to hold the dough and the bubbles created during yeast fermentation.
Why check if the internal temperature is 90 degC or above after baking?
The bread dough contains a significant amount of water and during baking, only the crust loses sufficient water to be dry enough to brown. The interior of the loaf will only heat up to the boiling point of water at 100 degC unless you bake it to a charred crisp.
If the dough reaches a temperature of 90 degC or above, all the starch grains that make flour gritty will have been dissolved into the dough, making it smooth and all the proteins will have been completely denatured, fixing the bubbles in the bread permanently.
Whilst you can check if the bread has baked by tapping it to see if it sounds hollow, I simply prefer the certaintly of knowing absolutely that the bread has been baked all the way through.
As the bread cools to room temperature, the dissolved starch will also create a jelly, just like a thick gravy that has been allowed to cool and set. The bread is easier to slice and ready to eat.
Why freeze gluten free bread and reheat slices to eat?
If you leave your gluten free bread out over time, it can acquire that irritating gritty texture. As the bread stands, water begins to migrate towards the crust and small starch crystals begin to form (see https://onlinelibrary.wiley.com/doi/abs/10.1002/star.200400330). Many gluten free recipes have a higher water content than the equivalent gluten wheat based ones to combat this.
By slicing and freezing the bread you slow down this crystallisation dramatically.
By heating the slices, you then melt any gritty crystals that are present and recreate a better bread texture.